
To share this printer, we are required to enable the “File and printer sharing” feature. Once the feature is enabled, we can directly do printer sharing, do the following:
1. Click start button, then choose Devices and Printers
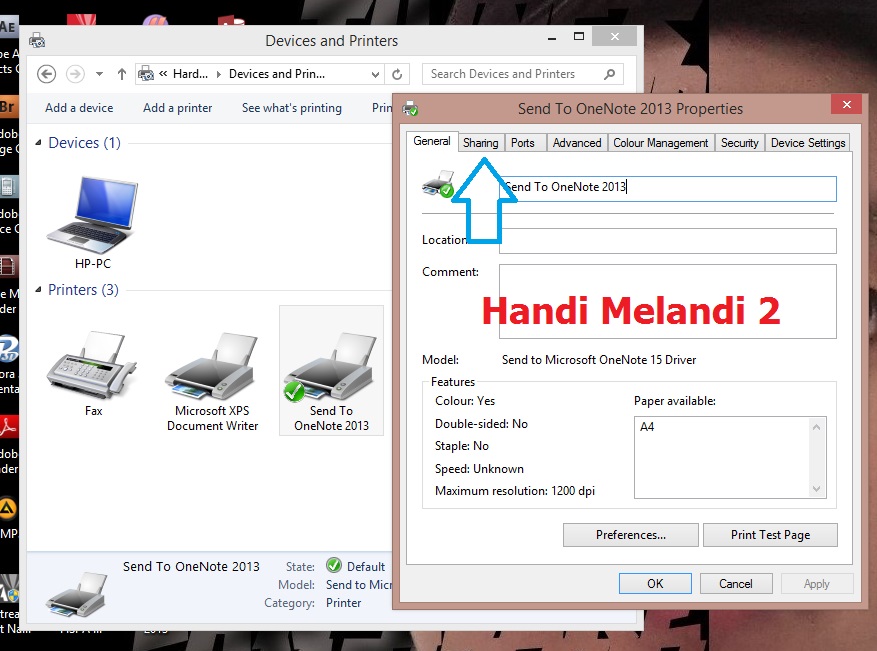
2. Determine which printer we want to share. Right click on the printer, then select printer properties

Select the Sharing tab on the wondows

Up here the process of sharing is complete and the next stage do settings on the computer 2
Setting on Compter 2
This setting is performed on a computer that will use the printer from a server computer that has oponed the share of a printer to be shared.
Make sure the printer is on and the status on.
1. Go to Device and Printer (go to device and printer, see steps 1 and 2 in Computer 1 settings above)
2. Click “Add device and printers”
3. The printer will automatically appear in the search list, then continue by pressing the Next, Next and Finish buttons to complete the printer installation process on the computer 2
4. In select a shared printer by name select the “Browse” button
5. Locate the Network Printer shared by the server computer by selecting the “Network” icon on the left panel, then logging into the connected server computer
6. If you have found, please click and proceed to the next step by following the instuctions
After that we can use the printer sharing
No comments:
Post a Comment